 Save to Pinterest
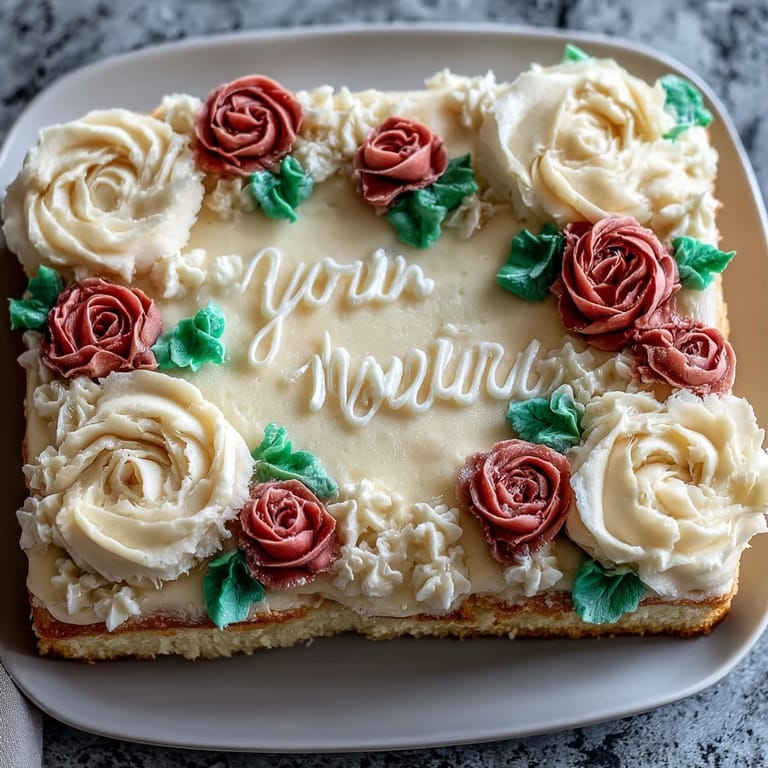
 There's something about baking a cake for someone's big milestone that makes you slow down and pay attention to every detail. My cousin called me in a panic two days before her graduation party, and somehow I ended up volunteering to make the cake—not a simple sheet cake, but one with piped buttercream roses that looked like they belonged in a bakery window. Standing in my kitchen at midnight, mixing butter and sugar, I realized this wasn't just about feeding people; it was about marking a moment they'd worked years to reach. The cake became the conversation starter, the centerpiece, the edible proof that something worth celebrating had happened.
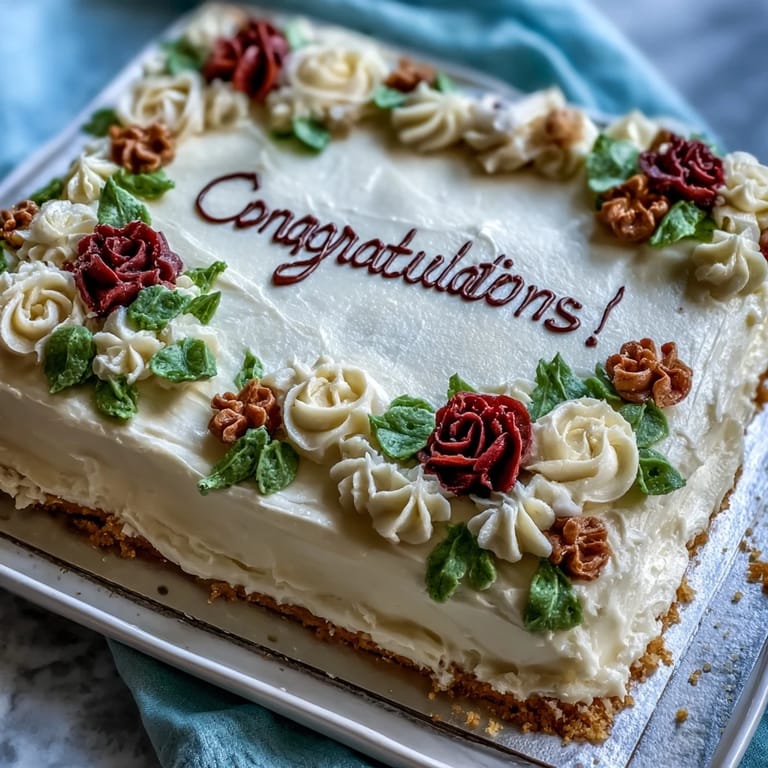
I'll never forget my sister's face when she walked into the kitchen and saw the cake covered in blooms—pink roses clustered in the corners, white ones dotting the border, green leaves tucked between like the flowers had just been picked. She didn't say anything for a moment, just looked, and I knew the effort had been worth every minute spent bent over a piping bag. That cake sat in the center of the table all afternoon, almost too pretty to cut into, but eventually we did, and it disappeared faster than the rose-shaped cakes had any right to.
Ingredients
- All-purpose flour (3 cups): The foundation of everything—make sure it's measured by spooning into a cup and leveling off, not scooping straight from the bag, or your cake will be dense.
- Baking powder and baking soda (2 ½ tsp and ½ tsp): These two work together to lift the cake gently, creating that tender crumb that makes people close their eyes when they bite into it.
- Salt (½ tsp): A tiny amount that makes the vanilla pop and the sweetness feel balanced instead of one-note.
- Unsalted butter (1 cup for cake, 1 ½ cups for frosting): Room temperature is non-negotiable—it creams into the sugar smoothly and won't leave grainy pockets in your frosting.
- Granulated sugar (2 cups): Creamed with butter, it aerates the batter and keeps the cake moist for days.
- Large eggs (4): Also room temperature, because cold eggs won't blend smoothly and you'll end up with flecks in your batter.
- Vanilla extract (1 tbsp for cake, 2 tsp for frosting): The quiet ingredient that makes people say they can't quite identify what they're tasting, just that it's good.
- Whole milk (1 ¼ cups for cake, ¼ cup for frosting): Room temperature so it doesn't shock the batter and create lumps.
- Powdered sugar (6 cups): Sifted before measuring prevents dense, lumpy frosting that looks grainy.
- Food coloring (gel, assorted colors): Gel coloring won't thin out your frosting the way liquid coloring does, and the colors stay vibrant instead of looking pastel.
Tired of Takeout? 🥡
Get 10 meals you can make faster than delivery arrives. Seriously.
One email. No spam. Unsubscribe anytime.
Instructions
- Set yourself up for success:
- Preheat your oven to 350°F and take a moment to grease the 12x18-inch pan thoroughly, then line it with parchment paper so the cake releases cleanly. Pull out all your ingredients and let them sit on the counter—room temperature is your secret weapon for a tender crumb.
- Build your dry mixture:
- Whisk flour, baking powder, baking soda, and salt together in a medium bowl until they're evenly combined. This distributes the leavening agents so every bite of cake has the same gentle lift.
- Cream butter and sugar until it's fluffy:
- In a large bowl, beat room-temperature butter and sugar together for about 3-4 minutes until it looks pale, light, and almost mousse-like—this is where the cake gets its tender structure. Stop occasionally to scrape down the bowl so nothing hides at the bottom.
- Add eggs one at a time, beating between each:
- This prevents the batter from breaking and ensures each egg integrates smoothly, creating a stable emulsion. Stir in the vanilla extract after the last egg.
- Alternate wet and dry ingredients gently:
- Add about a third of the flour mixture, then half the milk, then another third flour, then the remaining milk, then the last of the flour—always beginning and ending with flour. Stir just until combined, because overmixing develops gluten and toughens the cake.
- Bake until golden and set:
- Pour the batter into your prepared pan and smooth the top gently. Bake for 30-35 minutes, or until a toothpick inserted in the center comes out clean and the edges are pulling slightly away from the pan.
- Cool completely before frosting:
- Let the cake cool in the pan on a wire rack for about 15 minutes, then turn it out to cool completely—frosting warm cake causes the buttercream to slide and pool.
- Make frosting that's smooth and spreadable:
- Beat room-temperature butter until creamy, then add powdered sugar gradually, followed by milk and vanilla. Beat for about 5 minutes until the frosting is fluffy and looks like clouds—this is the perfect consistency for spreading and piping.
- Tint your frosting thoughtfully:
- Divide the frosting into bowls and add gel coloring drop by drop, stirring between additions. It's easier to add more color than to dilute it down if you go overboard.
- Spread a base layer smooth and even:
- Using an offset spatula, spread a thin layer of white buttercream across the entire cake to seal in crumbs and create a smooth canvas for your roses.
- Pipe roses with patience and flow:
- Fit piping bags with petal tips and practice the motion on parchment paper if you're nervous—it's just spiraling the bag in small circles, building up petals from the center. Hold the bag at a slight angle and let muscle memory take over.
- Add leaves and finishing touches:
- Use a leaf tip to pipe small green leaves between and around your roses, then write your congratulations message with a small round tip in a contrasting color. Step back occasionally to see the whole picture and make sure your design feels balanced.
 Save to Pinterest
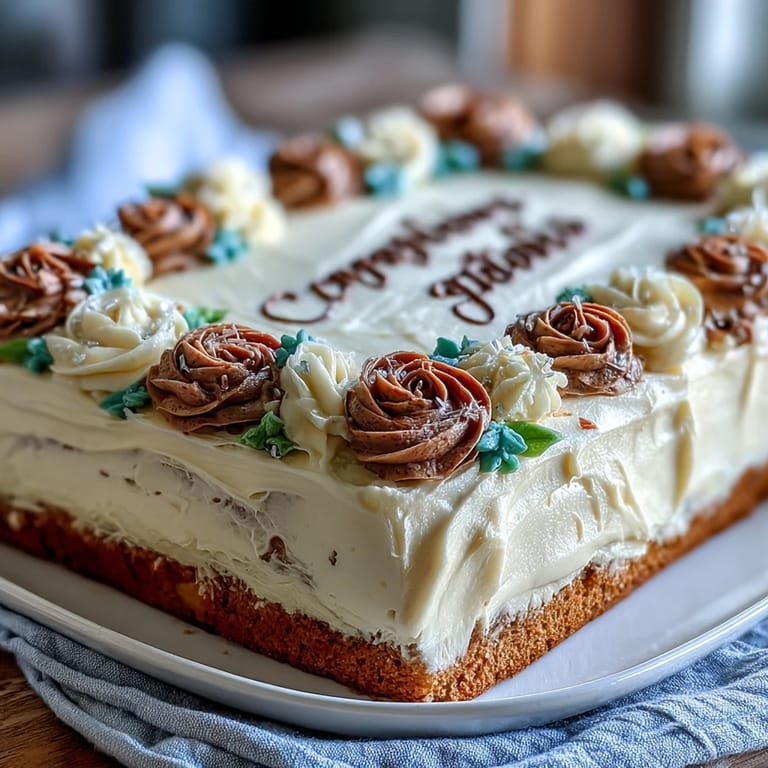
 There's a moment after you finish piping the last rose when you step back and realize you've created something beautiful—not perfect, maybe a little wobbly, but unmistakably made with care. That's when it stops being a recipe and becomes a gift wrapped in sugar and butter.
The Secret to Piping Roses That Actually Look Like Roses
Piping roses terrified me until a baker friend told me to stop thinking about it as recreating a perfect flower and start thinking about it as layering petals around a center, which is what actually happens in nature anyway. The first rose will feel awkward, the second less so, and by the fifth one your hands remember the motion and your brain stops interfering. Practice on parchment paper if you have time, but honestly, even slightly imperfect roses look charming and homemade in the best way. One key I discovered: hold the piping bag at about a 45-degree angle, keep the petal tip horizontal, and let the frosting do most of the work while you control the direction and pressure.
Why This Cake Works for Crowds
A sheet cake is the practical hero of celebration baking—it feeds 24 people without requiring three hours of assembly, it travels well if you need to move it, and it looks impressive without being fussy. I've made this cake for graduations, bridal showers, and office celebrations, and it never fails to receive compliments. The vanilla is flexible enough to pair with any decoration scheme, any color of frosting, any message you want to pipe on top. You can make it the morning of the event and spend your actual party time celebrating instead of baking, which feels like the whole point.
Storage and Make-Ahead Magic
This cake actually improves slightly after a day in the fridge because the crumb settles and the flavors deepen—a happy accident that means you can bake it two days ahead without any quality loss. Store it covered at room temperature for up to two days if your kitchen isn't too warm, or refrigerate it for up to five days if you need the extra buffer. When you're ready to serve, let it sit out for about 30 minutes so the frosting softens slightly and tastes creamy rather than waxy. Here's what I've learned about timing:
- Bake the cake the day before and frost it the morning of your event for the freshest taste and easiest decoration.
- If you're piping roses, you can do that a few hours ahead and refrigerate the cake until serving, which actually helps the roses hold their shape.
- Bring refrigerated cake to room temperature before serving so the vanilla flavor shines and the texture feels tender instead of dense.
 Save to Pinterest
 This cake has become my go-to celebration dessert because it delivers on promise—it tastes as good as it looks, and the effort spent piping those roses feels entirely worth it when you see someone's face light up. Make it, decorate it with whatever love and attention you can muster, and watch it disappear while people tell you how talented you are.
Recipe FAQs
- → What type of flour is best for this cake?
All-purpose flour provides the right structure for a tender and moist crumb, ideal for this vanilla sheet cake.
- → How do I achieve smooth buttercream frosting?
Beat unsalted butter until creamy before gradually adding powdered sugar, milk, and vanilla, continuing to whip until smooth and fluffy.
- → Can I use gel food coloring for the buttercream?
Yes, gel food coloring is preferred for vibrant, non-runny colors that hold well when piping roses and leaves.
- → What baking pan size is recommended?
A 12x18-inch sheet cake pan provides even baking and the ideal size for decorating with buttercream roses.
- → How should I store leftover cake?
Cover leftovers at room temperature for up to 2 days or refrigerate for up to 5 days to maintain freshness.