 Save to Pinterest
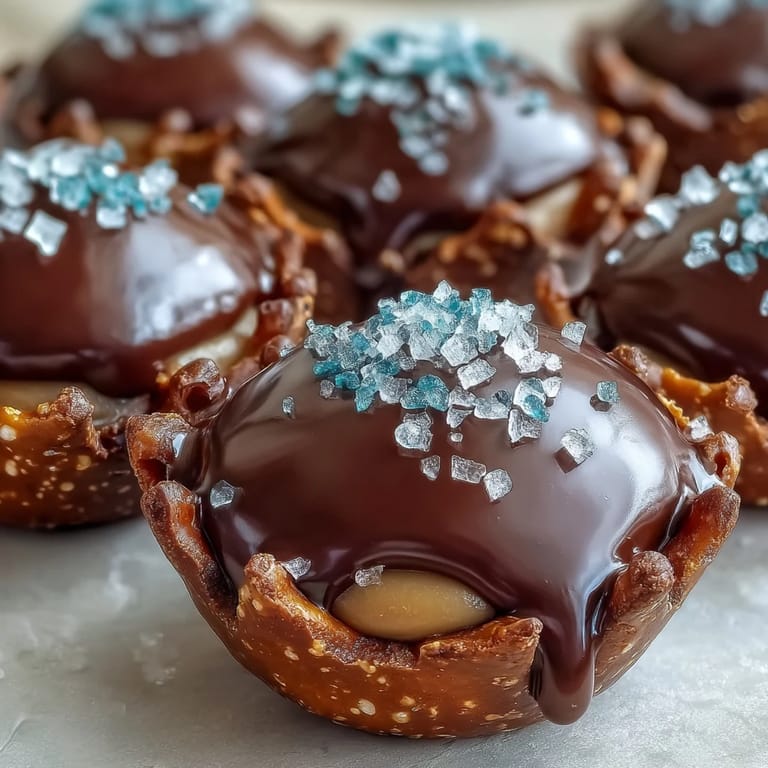
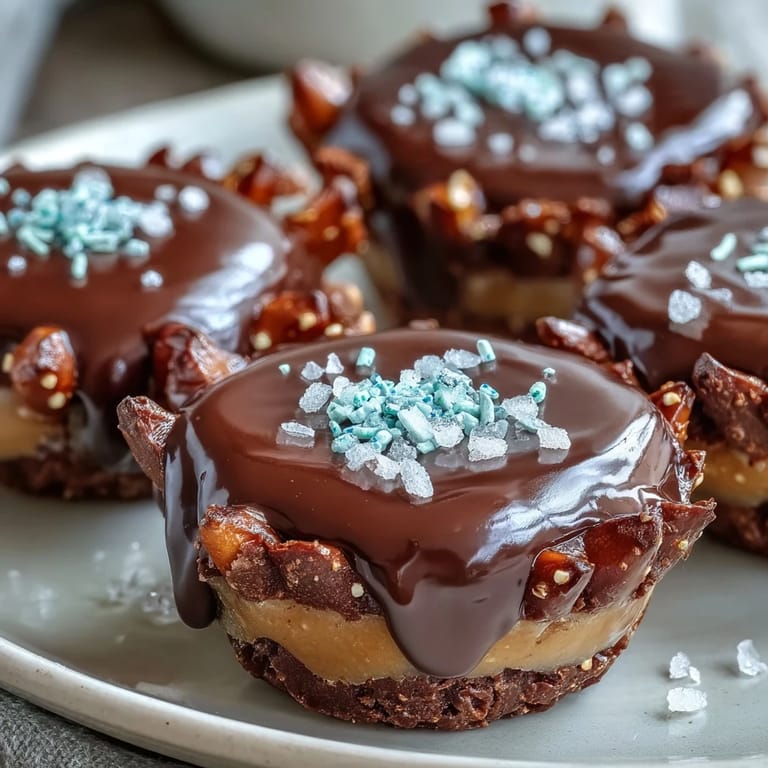
 The sound of pretzel crunch under my rolling pin is one of those kitchen moments that always makes me smile. Peanut Butter Eggs weren’t a tradition in my family, but after accidentally blending salty pretzels into an Easter treat years ago, these cups became the crowd favorite. The swirl of melted chocolate and the scent of toasted nuts rising from the bowl felt reassuring after a long week. Whenever I make these, the salty-lush aroma wraps around me like a cozy blanket and suddenly people drift toward the kitchen. They’re quick to make but never linger in the fridge for long.
I remember making a batch for a friend's book club on a rainy afternoon, wondering if anyone would notice the pretzel crust. As soon as I brought the tray out, I heard giggles and murmurs about the salty-sweet magic. Someone actually asked if there was a 'secret ingredient' and I just winked, because sometimes a good recipe deserves some mystery. Moments like that remind me how food can spark little conversations that linger. The cups disappeared before I could even fetch a second batch.
Ingredients
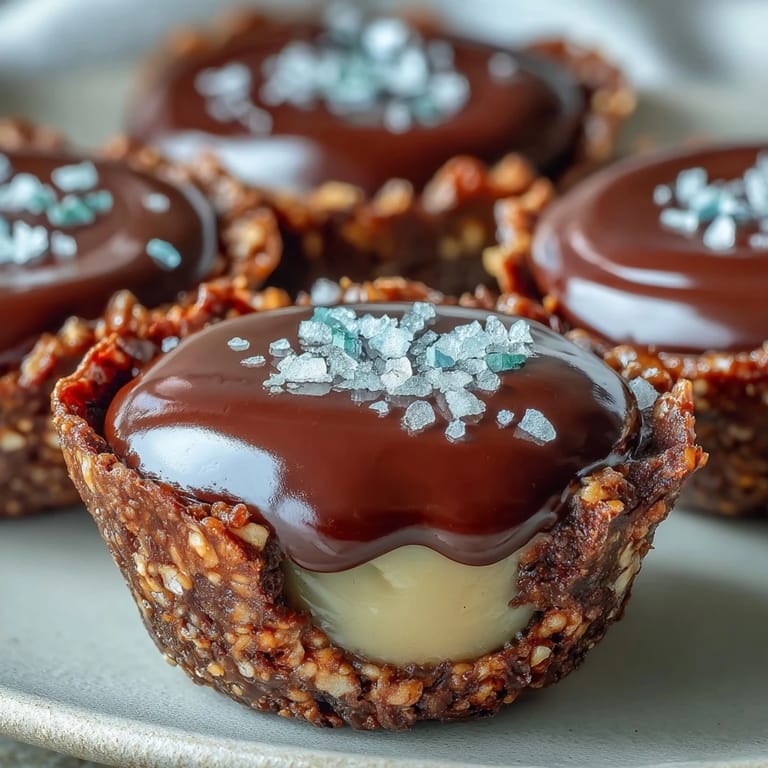
- Salted Pretzels: Crushing these finely gives the crust texture and delivers that perfect salty counterpoint to the sweet filling.
- Unsalted Butter: I always melt the butter, ensuring every crumb flecks with richness and holds the crust together.
- Granulated Sugar: Just a bit brings out the pretzel flavor and encourages everyone to ask for seconds.
- Creamy Peanut Butter: Using smooth peanut butter makes the filling easy to layer, and I avoid stirring in too much air for the best bite.
- Powdered Sugar: Powdered sugar blends easily—no gritty texture, just a velvety finish.
- Vanilla Extract: The hint of vanilla brightens the peanut butter, cutting through any heaviness.
- Semi-Sweet Chocolate Chips: Melting these gently gives a glossy finish and balances the filling's softness.
- Coconut Oil: Just enough to make the chocolate silky and easy to pour; vegetable oil works in a pinch.
- Colored Sprinkles or Flaky Sea Salt: Sprinkles add instant cheeriness, while sea salt makes grownups swoon.
Tired of Takeout? 🥡
Get 10 meals you can make faster than delivery arrives. Seriously.
One email. No spam. Unsubscribe anytime.
Instructions
- Prep Your Tin and Liners:
- Line a mini muffin tin with paper liners, smoothing them out so they sit neatly. This makes removing the cups a breeze later.
- Mix the Pretzel Crust:
- In a medium bowl, stir crushed pretzels, melted unsalted butter, and sugar until it clumps together and smells buttery. Don’t rush—if you mix gently, every bit soaks up the butter.
- Press and Chill the Crust:
- Spoon a tablespoon of the pretzel mix into each liner, pressing firmly so it’s nicely compact. Pop the tin into the freezer for 10 minutes to set while you prepare the filling.
- Whip the Peanut Butter Layer:
- Beat peanut butter, softened butter, powdered sugar, and vanilla in another bowl until light and smooth. Listen for that creamy swoosh—the mixture should glide off your spoon.
- Add the Peanut Butter:
- Scoop a tablespoon onto each crust, smoothing with the back of a spoon so you have tidy layers. Try not to lick your fingers (unless you’re alone—that’s mandatory).
- Melt the Chocolate:
- Microwave chocolate chips and coconut oil in short bursts, stirring after each, until shiny and completely melted. If you smell chocolate, it’s ready—don’t overheat or it’ll lose its gloss.
- Topping Time:
- Spoon melted chocolate over the peanut butter layer, covering everything evenly. Shake sprinkles or sea salt over the top for flair.
- Chill and Set:
- Refrigerate the cups at least 30 minutes, or until the chocolate firms up beautifully. The waiting is the hardest part.
- Storage:
- Keep finished cups in the fridge until you’re ready to share—if you haven’t eaten them already.
 Save to Pinterest
 Last Easter, I watched my niece quietly stack these peanut butter cups onto her plate, smiled shyly, and later asked if we could make them together. It felt special turning a simple dessert into our little hands-on tradition. Recipes like this turn holiday afternoons into memories that stick longer than any chocolate on your fingers.
Salty-Sweet Magic in Your Kitchen
If you let the pretzel crust chill just a bit longer, it gets extra crisp and contrasts the creamy filling even more. Experimenting with crushed pretzel shapes gives different textures—some fudge-like, some almost cookie-like. Each batch somehow tastes a bit different, depending on the mood and who’s helping.
Peanut Butter Filling Perfection
Starting with softened butter and room temperature peanut butter prevents lumps and gives a silky result. If you want, adding a splash more vanilla can elevate the aroma, especially for fans of bakery sweets. Taste as you go, the filling is the easiest to tweak if you prefer it less sweet or extra nutty.
Chocolate Drizzle: Decorating Fun
Letting the chocolate cool slightly before pouring keeps your layers neat and helps those sprinkles stay in place. You don’t need fancy tools—a spoon or spatula does the job beautifully. If you want the cups to look like little eggs, sprinkle with pastel colors before the chocolate sets.
- Don’t skip chilling: it’s what makes the texture perfect.
- If you want glossy tops, use fresh chocolate chips.
- Cleanup is quick if you line your work surface with parchment paper.
 Save to Pinterest
 Packing these cups into a tin is my favorite way to surprise someone. Share them chilled or at room temp, and enjoy every salty-sweet bite together.
Recipe FAQs
- → How do I make the pretzel crust firm?
Freeze the pretzel crust for 10 minutes before adding the filling. Press it firmly to ensure it stays compact.
- → Can I use other nut butters?
Absolutely! Almond or sunflower seed butter works well for a nut-free alternative and different flavor profiles.
- → What type of chocolate is best?
Semi-sweet chocolate chips are great, but dark chocolate adds richness for those who prefer less sweetness.
- → Can these be made gluten-free?
Yes, simply substitute gluten-free pretzels for the crust to make these cups suitable for gluten-free diets.
- → How should these be stored?
Keep the cups refrigerated in an airtight container. They last up to 5 days while maintaining taste and texture.
- → Are there decoration options?
Sprinkles or flaky sea salt make colorful, festive toppings, adding extra crunch and visual appeal to each cup.