 Save to Pinterest
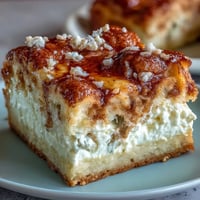
 There's something about the week before St. Patrick's Day that makes me want to bake cookies shaped like little green shamrocks, even though I'm not Irish and my kitchen ends up looking like a glitter explosion. My neighbor knocked on the door one March afternoon asking if I'd made any festive treats, and I realized I'd never actually attempted these buttery, iced beauties before. That conversation sparked an afternoon of rolling dough, cutting shapes, and discovering that royal icing is both a blessing and a messy, sticky adventure. Now these cookies are my March tradition, the kind that disappear faster than I can decorate them.
I'll never forget my coworker Sarah's face when I brought a box of these to the office on March 17th, and she took one bite and immediately asked for the recipe. She came back the next week saying she'd made three batches because her kids kept sneaking them from the cooling rack. That's when I knew these weren't just cookies, they were the kind of treat that makes people feel like you spent all day thinking about them, even if the whole process takes less time than a movie.
Ingredients
- All-purpose flour (2 1/2 cups): The foundation of your cookies, providing structure so they hold their shamrock shape beautifully without spreading into blobs.
- Unsalted butter (3/4 cup), softened: Room temperature butter is non-negotiable here, creaming properly with sugar to create that light, almost cloud-like texture.
- Granulated sugar (1 cup): This sweetens the dough while also helping create that slight crispness at the edges when baked.
- Baking powder (1/2 teaspoon): A gentle leavening agent that gives cookies a tender crumb without making them cake-like.
- Salt (1/4 teaspoon): This tiny amount enhances the vanilla and butter flavors, making the whole cookie taste more complex.
- Large egg (1): Binds everything together and adds richness to the dough.
- Vanilla extract (1 teaspoon): The warm, aromatic backbone of these cookies, never skip this.
- Almond extract (1/2 teaspoon, optional): A secret whisper of nuttiness that makes people ask what you did differently.
- Powdered sugar (2 cups): Creates the smooth, sweet icing base that hardens beautifully.
- Meringue powder (2 tablespoons): This stabilizes the icing so it sets hard and glossy instead of staying sticky forever.
- Water (3-4 tablespoons): Room temperature water helps you achieve the perfect icing consistency, thick enough to pipe but thin enough to flood.
- Green gel food coloring: Gel coloring is far superior to liquid because it doesn't thin out your icing and produces vibrant, true green instead of murky yellow-green.
Tired of Takeout? 🥡
Get 10 meals you can make faster than delivery arrives. Seriously.
One email. No spam. Unsubscribe anytime.
Instructions
- Gather and Measure Your Ingredients:
- Read through everything first, measure out your ingredients, and let your butter sit on the counter until it's soft enough to press your finger into easily. This small step prevents the frustration of trying to cream cold butter and wondering why your mixer is working so hard.
- Build Your Dry Base:
- Whisk together flour, baking powder, and salt in a medium bowl, breaking up any lumps as you go. Setting this aside means you're ready to fold it in later without any frantic scrambling.
- Cream Butter and Sugar:
- In a large bowl, beat softened butter and granulated sugar with an electric mixer for about two minutes until the mixture becomes pale, fluffy, and almost cloud-like. You'll know it's ready when you can barely see granules and it looks lighter than when you started.
- Incorporate the Wet Ingredients:
- Beat in your egg, vanilla extract, and almond extract (if using) until everything combines into a smooth, glossy mixture. This creates the foundation for a tender cookie with rich flavor.
- Bring the Dough Together:
- Gradually add your dry ingredients to the wet mixture, stirring on low speed just until everything comes together into a cohesive dough. Overmixing at this point will make your cookies tough, so stop as soon as you don't see any flour streaks.
- Chill Your Dough:
- Divide the dough into two discs, wrap tightly in plastic wrap, and refrigerate for at least one hour, though overnight is even better. Cold dough is much easier to roll out and cuts clean shamrock shapes.
- Prepare Your Workspace:
- Preheat your oven to 350°F and line baking sheets with parchment paper while you work with the dough. This prevents your cookies from sticking and ensures even, predictable browning.
- Roll and Cut with Care:
- On a lightly floured surface, roll out one disc of dough to 1/4-inch thickness, working gently so it doesn't crack. Use your shamrock cutter to create shapes, placing each cookie about one inch apart on your prepared sheets.
- Bake Until Golden:
- Bake for 8-10 minutes, watching for the edges to just barely turn golden but the centers still look slightly underbaked. Remove from the oven when they're still a touch soft, they'll continue cooking as they cool.
- Cool Strategically:
- Let cookies sit on the baking sheet for five minutes so they firm up just enough to handle, then transfer to a wire rack to cool completely. This two-step cooling prevents breakage and ensures even texture throughout.
- Mix Your Royal Icing:
- Combine sifted powdered sugar and meringue powder in a clean bowl, then add room temperature water and vanilla extract. Beat on low speed for 5-7 minutes until the mixture becomes smooth, glossy, and thick enough to hold peaks.
- Add Your Festive Color:
- Add green gel food coloring a tiny bit at a time, mixing thoroughly after each addition until you reach your desired shade of green. Gel coloring is potent, so less is more to avoid an overwhelming color.
- Pipe with Precision:
- Transfer your icing to a piping bag fitted with a small round tip, then outline each shamrock shape with a thin line of icing. After outlining, flood the centers with slightly thinner icing, letting it spread naturally to the edges.
- Let It Set Completely:
- Allow the icing to harden for at least one hour before serving or packaging, giving it time to dry to that beautiful hard, shiny finish. Patience here is worth it, turning your cookies into something that looks bakery-quality.
 Save to Pinterest
 There was this one Saturday when my sister came over with her twin three-year-olds, and instead of handing them the finished cookies, I let them help decorate. Watching those tiny fingers carefully paint green icing across shamrocks, getting more on themselves than the cookies, turned a simple baking project into a memory I still smile about. These cookies became less about perfection and more about the joy of creating something together.
Storage and Keeping
Once your icing has fully hardened, stack the cookies in an airtight container separated by parchment paper so the icing doesn't stick to other cookies. They'll keep beautifully at room temperature for up to a week, and honestly, they taste even better after sitting for a day because the flavors meld and mellow. If you're shipping them to friends, the hardened icing protects them from damage far better than soft cookies would.
Why This Recipe Works Every Time
The combination of vanilla and almond extract creates a depth of flavor that tastes expensive and special without requiring exotic ingredients. The ratio of butter to sugar is balanced perfectly so the cookies are tender without being cakey, and buttery without being greasy. I've tweaked this recipe dozens of times, and every element earned its place through happy accidents and kitchen experiments.
Decorating Ideas and Flavor Variations
Beyond the classic green icing, I've had fun exploring different finishing touches depending on my mood and what I have in the pantry. Edible gold glitter sprinkled onto wet icing catches the light beautifully, while nonpareils add a satisfying tiny crunch. Some years I've piped fine details like shamrock stems or outlined each leaf individually, other years I've kept it simple and let the green color do all the talking.
- Edible gold or silver dust mixed into the icing creates a shimmery, luxe look that makes people gasp when they see them.
- A drizzle of white icing over the dried green base creates a lovely contrast and looks unexpectedly sophisticated.
- Keep sprinkles and decorations beside you while icing is still wet, or they'll slide right off the hardened surface.
 Save to Pinterest
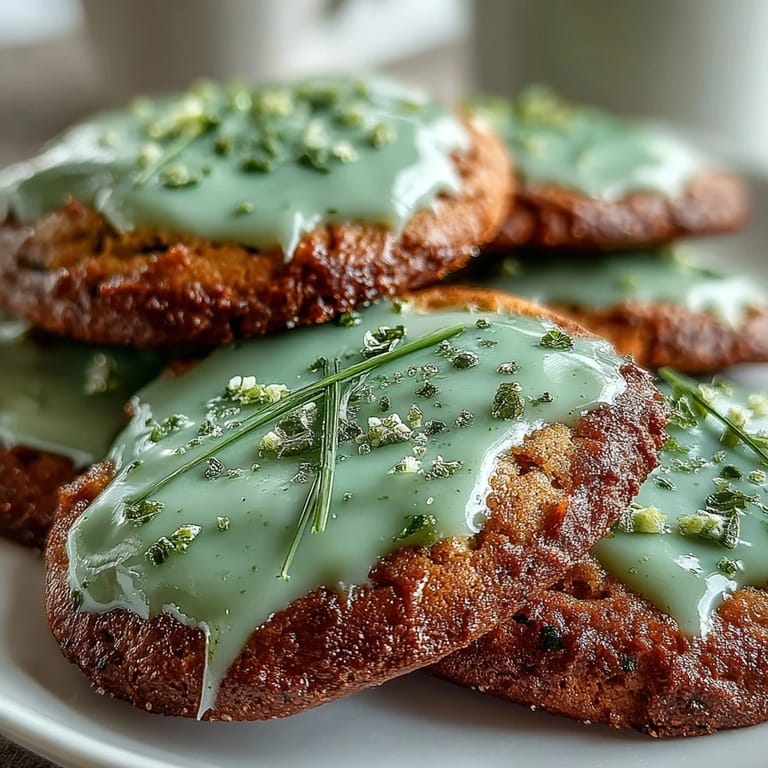
 These shamrock cookies have a way of making March feel special, turning an ordinary week into something worth celebrating. Share them with people you love, or keep them all for yourself—either way, you've made something delicious and distinctly festive.
Recipe FAQs
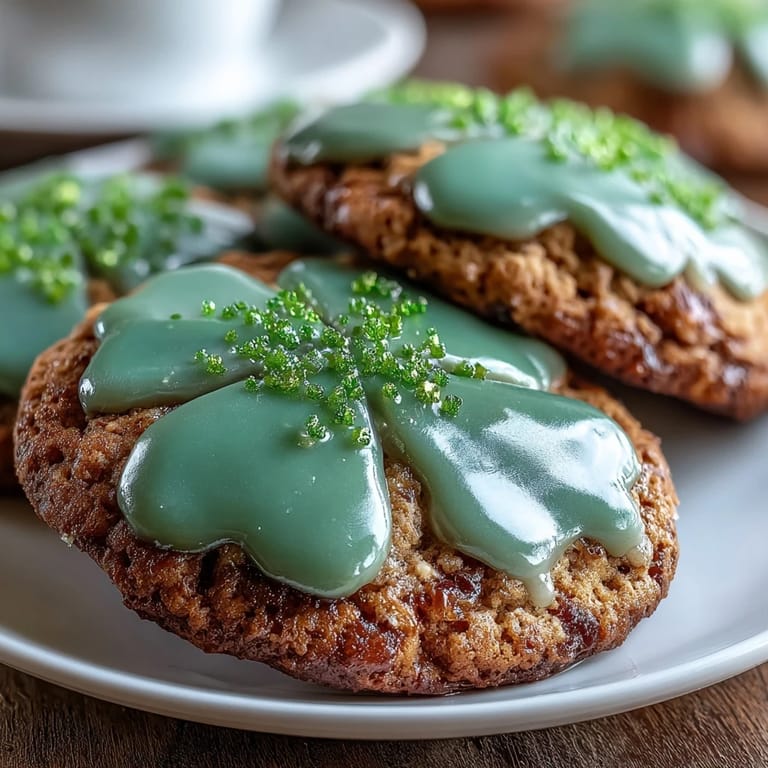
- → What gives the cookies their green color?
The green color comes from gel food coloring mixed into the royal icing, creating vibrant and festive decoration.
- → How is the royal icing prepared?
Royal icing is made by beating sifted powdered sugar with meringue powder, water, and vanilla extract until smooth and glossy.
- → Can almond extract be omitted?
Yes, almond extract is optional and can be left out for a more classic flavor or to accommodate nut allergies.
- → What is the ideal baking time for these cookies?
Bake the cookies for 8 to 10 minutes until edges are just beginning to turn golden for a perfect texture.
- → How should the dough be handled before baking?
Dough is divided, wrapped, and chilled for at least an hour to ensure it rolls out easily and holds shape during baking.